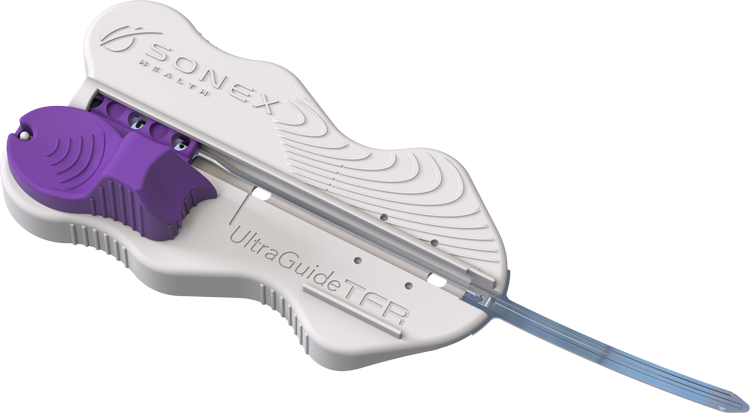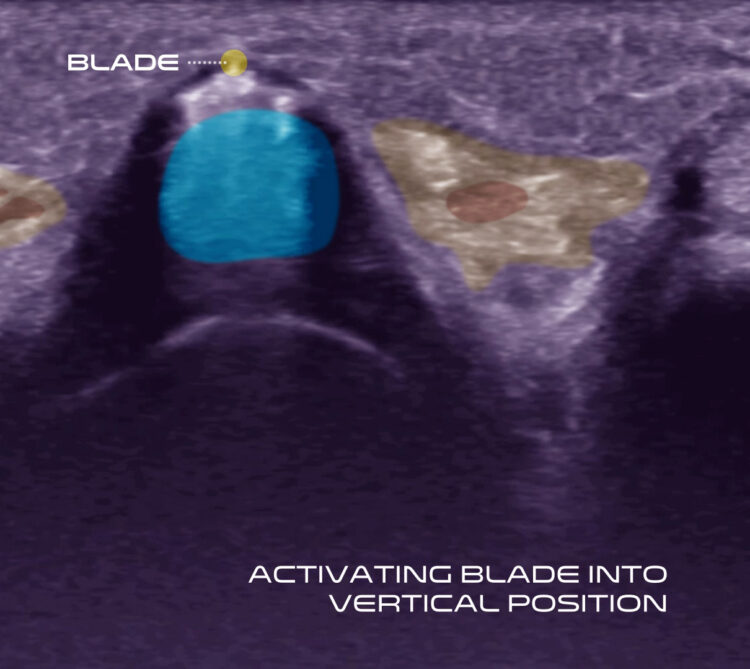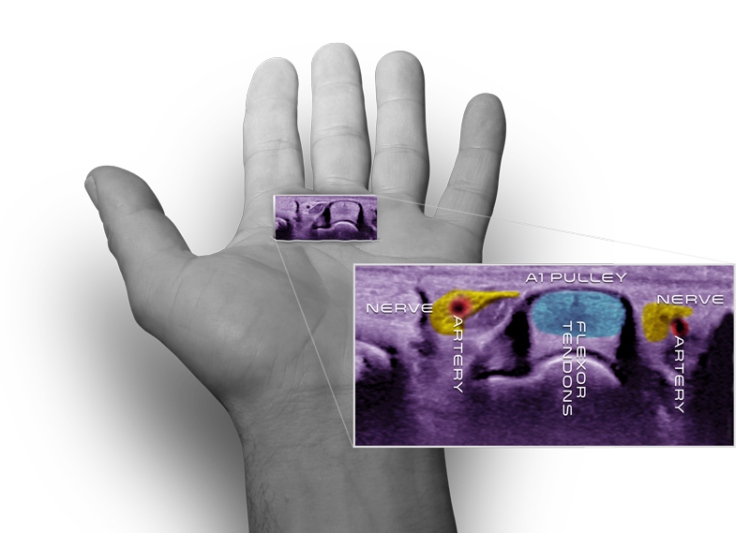
Ultrasound-Guided Trigger Finger Release
Benefits include:23-25
- Performed in your clinic or procedure room
- Can be performed using only local anesthesia
- Return to normal daily activities in 3 days
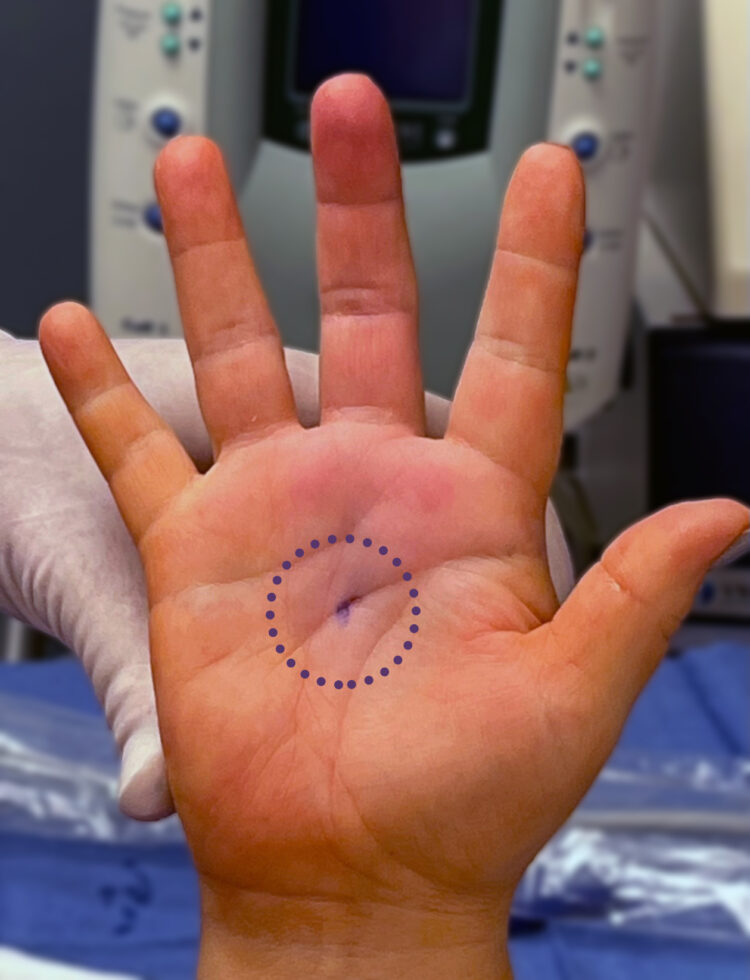
- Small incisions typically closed without sutures
- Most patients only require acetaminophen or NSAIDS for pain management